Home > Africa > Related Images
The Transvaal War, Scenes at the Front (b / w photo)
")
![]()
Wall Art and Photo Gifts from Fine Art Finder
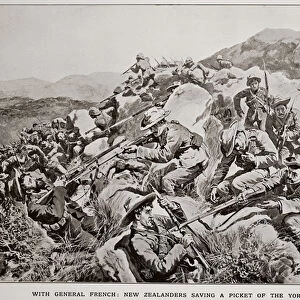
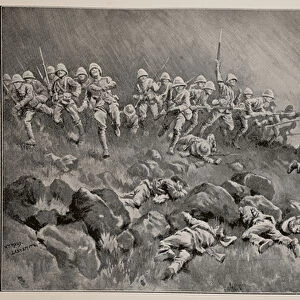
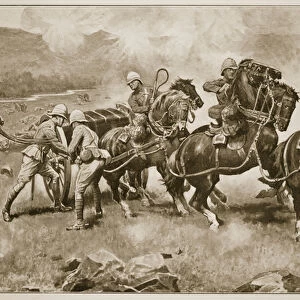
The Transvaal War, Scenes at the Front (b / w photo)
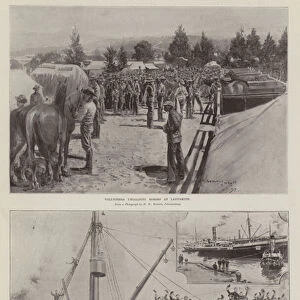
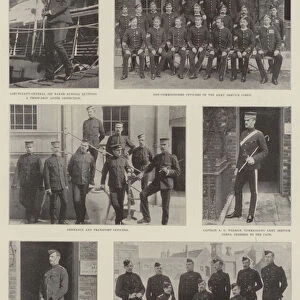
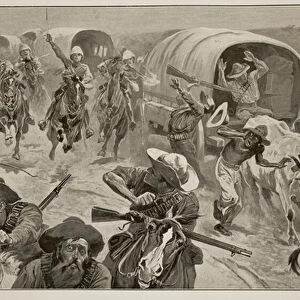
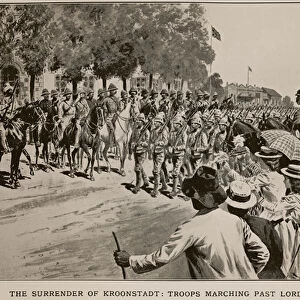
1593017 The Transvaal War, Scenes at the Front (b/w photo) by English Photographer, (19th century); Private Collection; (add.info.: The Transvaal War, Scenes at the Front. Illustration for The Illustrated London News, 16 December 1899.
English Photographer (19th Century)); Look and Learn / Illustrated Papers Collection
Media ID 22314442
© Look and Learn / Illustrated Papers Collection / Bridgeman Images
Assembling Brought Estcourt Examination Front Headquarters Imperial Light Horse Second Boer War Sunday Transvaal War
FEATURES IN THESE COLLECTIONS
> Africa
> Related Images
> Africa
> South Africa
> Related Images
> Fine Art Finder
> Artists
> English Photographer
> Fine Art Finder
> Artists
> English School
EDITORS COMMENTS
This photograph captures a poignant moment during the Transvaal War, also known as the Second Boer War. Taken by an English photographer in the 19th century, this print offers a glimpse into the scenes at the frontlines of this historic conflict. In the image, we see soldiers from the Imperial Light Horse assembling at their headquarters in South Africa on a Sunday. The troops are preparing for battle under the watchful eye of General Murray. This examination before deployment was crucial to ensure that every soldier was fit and ready for combat. The atmosphere is tense yet determined as these brave men gather together, fully aware of the challenges they will face in this war-torn land. Amidst them, Kaffir spies can be seen discreetly observing their movements, highlighting the complexity and intrigue surrounding this conflict. One notable detail captured by this photograph is a drumhead service being conducted by General Murray himself. This impromptu religious ceremony served as both a source of solace and motivation for these soldiers about to embark on their mission. The image provides valuable insight into one aspect of life during wartime – moments like these where soldiers come together amidst uncertainty and danger to prepare themselves mentally and physically for what lies ahead. It serves as a testament to their courage and resilience in facing adversity head-on. This rare historical photograph is part of a private collection but has been made available through Bridgeman Images' Fine Art Finder platform, allowing us to appreciate its significance today.
MADE IN THE USA
Safe Shipping with 30 Day Money Back Guarantee
FREE PERSONALISATION*
We are proud to offer a range of customisation features including Personalised Captions, Color Filters and Picture Zoom Tools
SECURE PAYMENTS
We happily accept a wide range of payment options so you can pay for the things you need in the way that is most convenient for you
* Options may vary by product and licensing agreement. Zoomed Pictures can be adjusted in the Cart.